Let’s be real for a second. Most of what you see on TikTok or Pinterest labeled as "linoleum" is actually just cheap vinyl. It’s a pet peeve for flooring pros. If you’re actually looking at how to install linoleum in bathroom spaces, you’re dealing with a totally different beast made of linseed oil, cork dust, and wood flour. It’s sustainable, it’s tough as nails, and honestly, it’s a bit of a pain to install if you don’t know the quirks of the material.
Linoleum has this weird "bloom." When it’s fresh out of the factory, it might look a little yellowish or off-color because of the linseed oil oxidizing. Don't freak out. Once you get it under your bathroom lights, that film disappears, and the colors pop. But because linoleum is a natural, living product, it expands and contracts differently than plastic-based floors.
You’ve got to get the subfloor perfect. I mean perfect. Any tiny pebble or screw head left under there will telegraph through the surface in six months, and you'll be staring at a bump every time you're on the throne. It’s annoying.
The Subfloor Secret: Why Your Plywood Matters
Most DIY disasters start before the glue even touches the floor. If you're wondering how to install linoleum in bathroom areas without it bubbling up, the answer is luan or a dedicated birch underlayment. Don't try to glue linoleum directly to your old, rough subfloor or, heaven forbid, over two layers of existing flooring. You want a smooth, sanded surface.
Fill every single gap. Use a high-quality floor patch like Henry 547 or Ardex Feather Finish. You’re basically looking for a surface as smooth as a finished wall. If you can feel a seam with your fingernail, you’ll see it through the linoleum eventually.
Linoleum is stiff. Unlike vinyl, which is floppy and forgiving, real linoleum (like Forbo Marmoleum) is rigid when it’s cold. You have to let it acclimate. Bring the roll into the bathroom—or at least a nearby room with the same temperature—and let it sit for at least 48 to 72 hours. If you try to unroll cold linoleum, it can crack. Then you’re out a few hundred bucks and a lot of pride.
The Layout Strategy
Bathrooms are tight. You’re working around toilets, vanity kicks, and maybe a clawfoot tub if you’re fancy. You don't just start laying glue and hoping for the best.
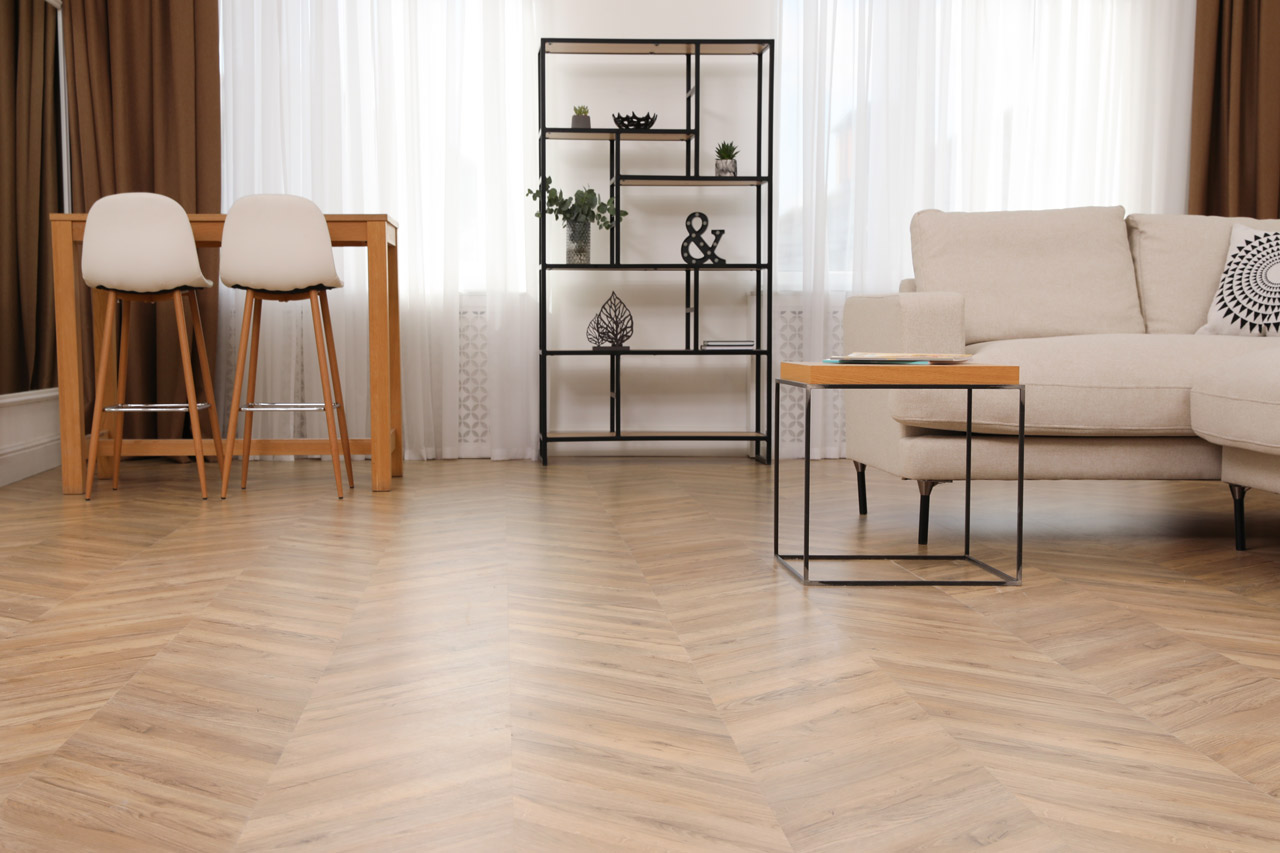
Measure the room twice. Then measure it again. Find the center point if you're doing tiles, but if you're doing sheet goods, you want to plan your seam (if you have one) away from the main splash zones. Ideally, a standard bathroom is small enough that you can do a single, seamless sheet. That's the dream. It makes it waterproof and looks way cleaner.
How to Install Linoleum in Bathroom Corners and Curves
Cutting this stuff is where people lose their minds. You’ll need a sharp hook blade and a straight blade. Use the straight blade for your initial cuts and the hook blade for trimming.
- The Scribing Method: This is the pro move. Instead of trying to measure and cut the sheet to fit the toilet base, you use a scriber or a simple compass. You lay the linoleum flat against the wall, set your compass to the width of the gap, and trace the contour of the wall or the toilet onto the linoleum.
- The Relief Cut: When you hit a corner, don't just shove the material down. Cut a "V" shape in the excess material at the corner so the sheet can drop flat against the floor.
- The Heat Factor: If the material is being stubborn around a tight curve, hit it very briefly with a hair dryer. Not a heat gun—that's too hot and can scorch the linseed oil. Just a little warmth makes it supple.
Adhesive choice is non-negotiable. You can't just use any "multipurpose" glue. Real linoleum requires a specific adhesive with a strong "initial tack." Because the backing is usually jute (basically burlap), it sucks up moisture from the glue. If you use a cheap adhesive, the edges will curl before the glue sets.
Spreading the Glue Without the Mess
Use a 1/16" x 1/16" x 1/16" square-notched trowel. Anything bigger puts down too much glue, and it’ll ooze up through the seams or create "slugs" (hard bumps of glue) under the surface.
Work in halves. Fold half the sheet back, spread your glue, wait the recommended "open time" (usually 10-20 minutes depending on humidity), and then carefully roll the sheet back into the goo. Then do the other side.
Rolling and Sealing: The Step Everyone Skips
If you think you're done once the floor is down, you're wrong. You need a 100-pound floor roller. You can rent them at Home Depot or any tool rental shop for about 20 bucks. Start from the center and roll toward the edges. This pushes out the air and ensures the jute backing is fully embedded in the adhesive.
If you skip rolling, you will get bubbles. It's a mathematical certainty.
In a bathroom, the edges are the weak point. Water gets under the baseboards, the glue rots, and the floor fails. You need to seal the perimeter. Professional installers often "cove" the linoleum up the wall, but that’s incredibly hard for a DIYer. Instead, leave a tiny 1/8-inch gap at the walls and fill it with a high-quality 100% silicone caulk. Then, install your baseboards or shoe molding on top.
What About the Toilet?
Please, for the love of your subfloor, pull the toilet. Don't cut the linoleum around the base of the toilet. It looks amateur and it's a leak waiting to happen.
- Turn off the water and drain the tank.
- Unbolt the toilet and set it on an old towel.
- Run the linoleum right up to the closet flange (the pipe in the floor).
- Cut the hole for the flange.
- Reinstall the toilet on top of the new floor with a new wax ring.
This creates a much better seal. If the new floor is significantly higher than the old one, you might need a flange extender. It's a $10 part that prevents the wax ring from leaking.
Maintenance and the "No-Wax" Myth
People love linoleum because it's naturally antimicrobial. That’s a fancy way of saying it kills MRSA and other nasties that live in bathrooms. But it isn't "maintenance-free."
Most modern linoleum comes with a factory finish (like Forbo's Topshield). Don't use harsh chemicals on it. No bleach. No high-pH cleaners. Just a neutral cleaner and a damp—not soaking wet—mop. If you scrub off that factory finish with abrasive cleaners, you'll have to start waxing it, and nobody has time for that in 2026.
Common Pitfalls to Avoid
- Wrong Trowel: Using a floor-patching trowel instead of an adhesive trowel.
- Moisture: If your concrete subfloor is damp, the linoleum will fail. Check for moisture with a simple plastic sheet test before you start.
- Bubbles: Not rolling the floor or waiting too long to lay the sheet into the glue.
- Seams: If you have to do a seam, use a "double-cut" method where you overlap two pieces and cut through both at once with a fresh blade.
Moving Forward With Your Bathroom Floor
Once the linoleum is down, stay off it for at least 24 hours. The adhesive needs time to crystallize. If you walk on it too soon, you’ll shift the sheet and create gaps at the seams.
After 24 hours, you can reinstall your baseboards and your toilet. Use a color-matched caulk for the area where the tub meets the floor. This is the highest-moisture area in the house, so don't skimp on the silicone here.
Check the "bloom" after a few days. If the floor looked a bit yellow when you unrolled it, you'll notice it getting brighter and more true-to-color as it breathes. This is the natural chemistry of the floor working its magic.
Actionable Next Steps:
- Order Samples: Linoleum colors look wildly different in person than on a screen. Get at least three samples of the same color family.
- Measure Your Door Clearance: Linoleum plus underlayment can add 1/4 to 3/8 of an inch to your floor height. You might need to trim the bottom of your bathroom door.
- Rent the Roller: Call your local rental shop a day early to make sure they have a 75lb or 100lb floor roller available for your project weekend.
- Prep the Subfloor: Spend more time sanding and patching than you think you need to. The quality of your prep work is 90% of the final look.
By following these steps, you'll have a bathroom floor that lasts 30 or 40 years, which is way more than you can say for the cheap vinyl planks most people are throwing down these days. It's a classic material for a reason. Get the prep right, use the right glue, and don't forget to roll it.